Chronicles of Dinosauria review

Chronicles of Dinosauria review

The Chronicles of Dinosauria is written by Dave Woetzel, illustrated by Richard Dobbs and published by New Leaf Publishing.

Chronicles of Dinosauria is this amazing book by Dave Woetzel that talks about the history of Dinosaurs and Man.  In this beautifully illustrated book, Dave Woetzel covers the Creation and the Dinosaurs, the Flood and the Dinosaurs, Fossil Evidence , the Historical Evidence, Artistic Evidence, Cryptozoology Evidence and Biblical Evidence of Dinosaurs and Man.

In this book, the author addresses one of the big questions that a lot of people have.  Did man and Dinosaur live at the same time?  Mr. Woetzel does a wonderful job of explaining and giving scientific evidence how man and dinosaur lived together. (Yes, I believe that man and dinosaur lived together.)

How did Dave Woetzel come to this conclusion?  He traveled around the world finding artifacts and talking to people.  In this books, he shares his own personal pictures and other papers, drawings and information that he came across during the search.

Between all of the information that Mr. Woetzel used to write this book and the amazing drawings that Mr. Richard Dobbs created to go along with the work, this book is put together wonderfully and answers many questions that one might have regarding how man and dinosaur lived together and what happened to the dinosaurs.

My kids and I have really enjoyed reading this book.  We definitely recommend it to others who want to learn more about man and dinosaurs living together.

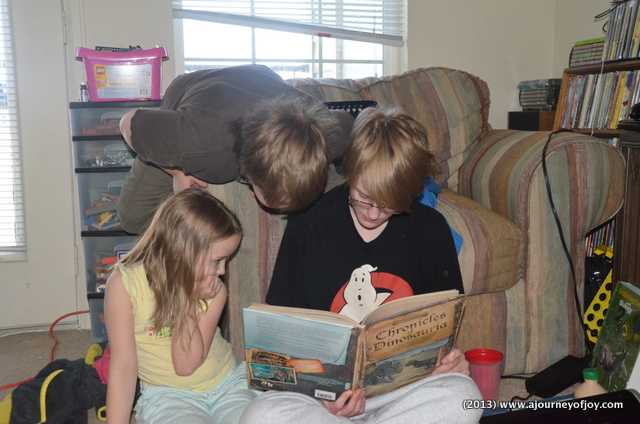
Kids reading Chronicles of Dinosaura.

Kids reading Chronicles of Dinosaura.

**Disclaimer: I was given this book by Master Books, a division of New Leaf publishing, in exchange for a review.  All opinions in the review are my own.  No other compensation was given.

Wednesday’s Around the World~ Ezekiel and the edible scroll

Wednesday’s Around the World~ Ezekiel and the edible scroll


As you may have noticed, I haven’t posted a Wednesday’s Around the World in a couple of weeks.  It wasn’t because I didn’t want to post, I just couldn’t seem to get the post written.  The last couple of weeks, I have been struggling with migraines, allergy/sinus headaches and even a Fibromyalgia flare-up that lasted longer than what I liked. When I have a Fibromyalgia flare-up, I basically hurt from head to toe and have no energy whatsoever, which makes it very hard to think and concentrate.  I am praying that I don’t have one of those for a while.  It is now finally feeling like spring and the kids and I want to get out and enjoy the beautiful weather we have been having.  Now on to Wednesday’s Around the World where we are talking about Ezekiel, the prophet and the edible scroll.

We studied about Ezekiel a couple of weeks ago.  He was taken as a young man to Babylonia, just like Daniel.  It wasn’t until after he had been held captive of about 5 years before he became a prophet.  Ezekiel was a preist and a prophet to the Judeans that lived along the River Chebar.  This group was able to worship and live somewhat of a normal life.

The way Ezekiel prophesied was a little unusual compared to other prophets.  God gave Ezekiel visions that are hard for us to understand.  For example, Ezekiel wrote that he had seen creatures with 4 faces and 4 wings in a fiery cloud.  One of the strangest though was God gave Ezekiel a scroll to eat.  The scripture says,

Ezekiel 3:3-4

And he said to me, “Son of man, feed your belly with this scroll that I give you and fill your stomach with it.”Then I ate it, and it was in my mouth as sweet as honey.

And he said to me, “Son of man, go to the house of Israel and speak with my words to them. 

 After everything that Ezekiel had seen in his life as a prophet, Ezekiel has no problem following God’s instructions.  He ate the scroll and then went to the house of Israel and told them about God.  Ezekiel was an amazing man and lived his life out as a prophet.  A lot of the Hebrews that Ezekiel lived with turned away from their idolatry and started serving God.  He died, obeying God while still living in captivity.

The activity for the lesson on Ezekiel, we were to make an edible scroll.  The kids liked this idea!  All you need for this activity is one slice of bread per kid, a knife and honey to drizzle.

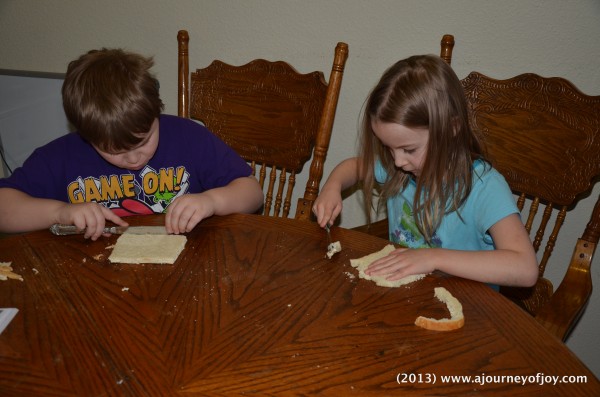
The first thing the kids did was cut the crust off the bread and then made the bread as square as they could.

cutting the crust off and squaring the bread up.

cutting the crust off and squaring the bread up.

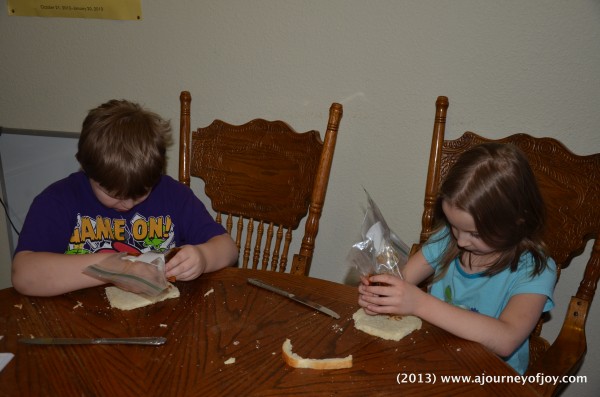
Once they finished squaring off their bread, they were to write “Oh Israel” on their “scroll”.  This proved challenging to them, because it was hard to write with the honey.  I didn’t have a small bottle with a nozzle, so I improvised and used ziploc bags and cut off a very tiny part of the corner.

Writing on their "scroll" with honey.

Writing on their “scroll” with honey.

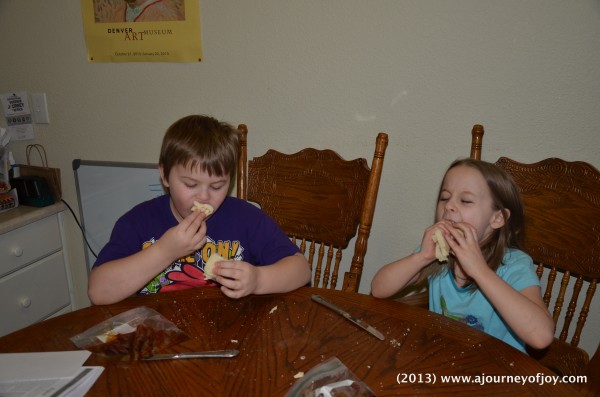
The last things the kids had to do was then roll the bread up just like a scroll and eat!  I think this was their favorite part! 😉

eating their "scroll".

eating their “scroll”.

So what all have you been learning in the last couple of weeks?  Did you do any neat projects or activities?  I would love if you would link up and share it with us!


Saving Memories Forever ~ review

Saving Memories Forever ~ review

(Disclaimer: I received this product free to review.  While I got it for free, all thoughts and opinions are my own.  No other compensation was received.)

Do you love learning about your family’s history or love hearing stories from days gone by? What about when your baby starts talking and wishing you had a way to capture the moment? With Saving Memories Forever App, you can preserve and save all of those special memories!

How does Saving Memories Forever work?  The first thing you need is a smart phone.  You will then need to download the Saving Memories Forever App.  Once you have downloaded the app on your phone, you will need to register on their system.  You also need to decide if you want to use the free version, or if you want to upgrade to the monthly paid version.  While the process is the same for both versions, you will be able to do more with the paid version, which is only $3.99 a month.

Now that you have registered with Saving Memories Forever, you are now ready to begin saving those precious memories of your family.  The first thing you will need to do is make a profile for the individuals you want to record.  Once that profile has been made,  Saving Memories Forever gives questions you can ask to the person, or you can ask your own questions.  There are different categories for different age groups.  The creators of Saving Memories Forever suggests that you keep the conversation recordings to 5 minutes or less.  Once you finish the recording of your profiler, you are then ready to upload and save the story, so that others can listen and enjoy the stories, as well.

Overall, I think this is a very good idea.  I know there have been times when I wished I had written or recorded stories of my parents and grandparents, that they told when they were growing up.

However, I had some issues with the Saving Memories Forevers App when I downloaded it.  First off, make sure you have room on your phone to download the app.  I had to delete a few other apps to make room for it.  Secondly, once I was finally able to download the app, it took several tries for me to get the app to work properly on my phone.  The app never did fit my phone screen.  It was just too large for my screen.  (I have an HTC).  While, I have had just a few issues, a lot of others have had a lot of success using the Saving Memories Forever app.  The creators are also very friendly and helpful for when you are having issues.  I can see this app being a success for a lot of history buffs!

**Disclaimer: I received this product free to review.  While I got it for free, all thoughts and opinions are my own.  No other compensation was received.


Spanish For You! curriculum

Spanish For You! curriculum

(I was given this curriculum for a review. All opinions expressed are my own. No other compensation was given.)

Spanish For You is a curriculum that is for grades 3-8.  The curriculum was designed by a Spanish teacher to effectively build grammar knowledge, spelling, writing skills and speaking.  Students can learn to communicate in spanish and have fun while learning.  Students will learn how the language works with its unique design.  Spanish For You is very flexible and can work with most any schedule.  You can use this curriculum in a class or co-op setting, for the family or even just yourself.

Spanish For You has a couple of different curriculum packages that you can choose from.  You can choose from Viajes or Fiestas package.  We were give the Fiestas package.  When you order your package, it will come with:

  • Spanish for you! soft cover book (allow up to 2 weeks for delivery) or E-book (trial pkgs.)
  • Plus the following downloads:
  • Audio download (MP3) of the entire book. You use these as the lesson guide instructs.
  • A free bonus audio of the entire book recorded by a native speaker from Mexico. (MP3)
  • 24-30 Week Lesson Guide (PDF) – The student (and parent if needed) follows this guide step-by-step to know what to do, at whatever pace works for you.
  • Self-checking worksheets (PDF) – You just print these as you need them. The lesson guide will tell you what you need to print and when.
  • Free set of pictures for making flashcards and other activity materials. (PDF)

Spanish For You has many activities and games listed on their website that you can use as you go through the curriculum.  This is a great idea for reviewing what you have learned and for practice.

Now that I have told you a little bit about the curriculum, here is our experience with Spanish For You!.  When we first received the curriculum by email, and I started downloading all of the files, it was all mixed up.  I had to go through and put all of the lessons and audios in the order that I would need to teach them.  That was a little bit discouraging for me.  When I purchase a curriculum, I like for it to be in order. (**This issues has since been fixed.  The creator of the curriculum has gone through and put everything in order, so you will not have this issue.)  While, the audio’s did help with the lessons and the curriculum was written very user friendly, my oldest daughter and I still had a hard time with it.  I think it is more of a personal issue with how it is taught, compared to how we learn.

So how do you know if Spanish For You will work for you and your family?  They have free lessons and free worksheets that you can download!  Once you see if the curriculum will work for your family, you can order the packages for a reasonable price, just starting at $9.99.

Spanish For You creator, Debbie, is very friendly and will help you out if you have any trouble at all.  While this curriculum did not work for our family, it just might work for you.

**Disclaimer~ I was given this curriculum for a review. All opinions expressed are my own.  No other compensation was given.
 

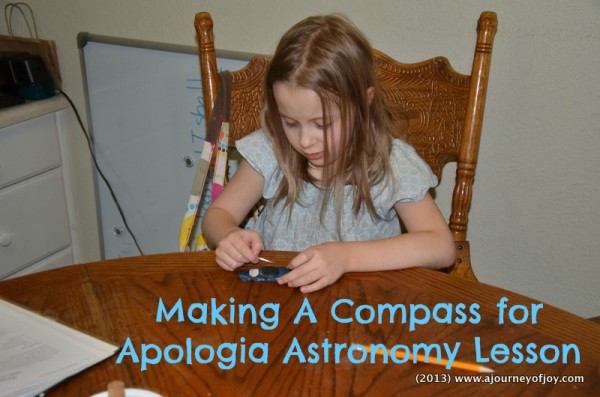
making a compass for Apologia Astronomy lesson

making a compass for Apologia Astronomy lesson

The next project for our Apologia Astronomy lesson, was making a compass.  It is the last project on our lesson about planet Earth and tied in with the last section that we read about, “Perfect Magnetosphere”.   What is a “Magnetosphere”? A magnetosphere is a huge area of magnetic power that is around Earth.

The Earth has a huge magnetic field that is made in the outer core of the earth.  This magnetic field pulls harmful particles away from the earth.  The harmful particles is called a solar wind.  Without this magnetic field, we wouldn’t be able to survive on Earth.  Isn’t that amazing?

The magnetosphere that is around the earth actually blocks some of the solar winds that come from the sun.  The solar winds that are able to get through are mostly around the North and South Poles.  As they are traveling past the North and South Poles, they start running into gases in the earth’s atmosphere.  This is where those beautiful lights that are called “auroras” come from!

Now on to the fun part of this lesson, the project of making a compass!  The supplies for this project  that you will need is a cork, permanent marker, a lid from a yogurt or sour cream container, a sewing needle and a magnet (needs to be a strong magnet).

clairecompass

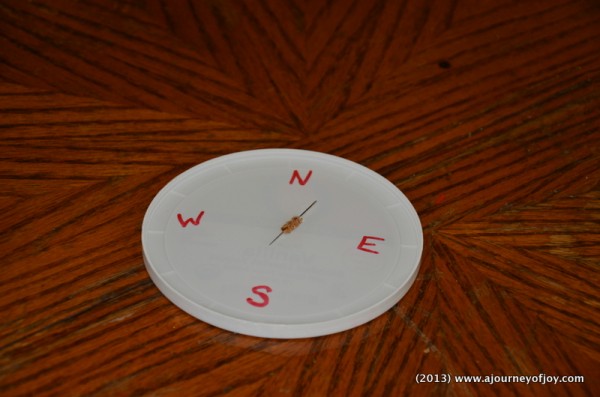
What you do first is label the lid with (N)orth, (S)outh, (E)ast, (W)est.  Then you run the needle over the top of the magnet several times, making sure that you move the needle in the same direction.  Then you will cut off a little piece of cork and put it in the middle of the needle.

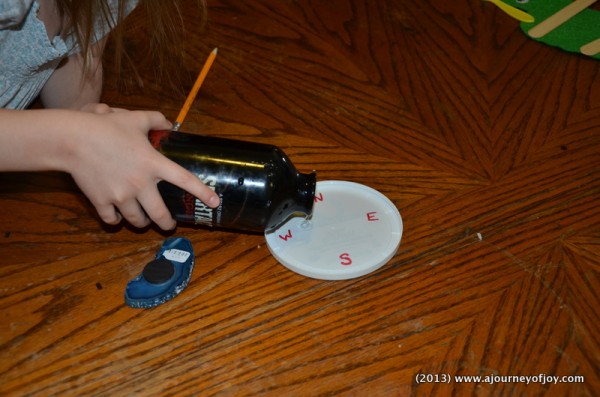
pouring water in the lid.

pouring water in the lid.

Then you will fill the lid to the very top with water.  You will then put the cork and needle in the lid so that the needle is floating roughly parallel to the surface of the water.  Then watch what happens!  Turn the compass and you will notice that the needle continues pointing in the same direction.

Needle is pointing North.

Needle is pointing North.

Regardless of how you turn the compass, one end of the needle will always point to the north and the other end to the south.  Yes, this really works!

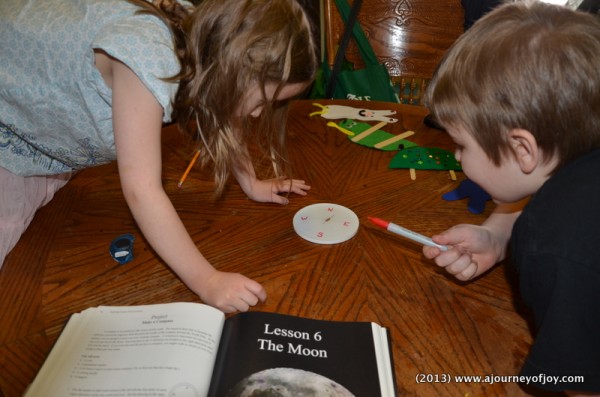
Checking the direction the needle is pointing.

Checking the direction the needle is pointing.

How does this work?  Since you turned the needle into a magnet by running it over the magnet, it is affected by the Earth’s magnetic field!

My kids had a really fun time with this project.  Well I have to admit, I did too!  We can’t wait to begin the next lesson on the Moon!

I am linking up with The Homeschool Scientist and Apologia.  Be sure to stop by Apologia and check out the other projects that have been linked up!

Have you done any neat science projects or activities?  I would love for you to share them with us!