I’m over at The Homeschool Village today. I had recently asked on The Homeschool Village’s Facebook page, what books for you recommend to beginning homeschoolers? They recommended 15 different books! Go check out to see what they are! Have you read any of the books? What books would you recommend?
You are browsing archives for
Tag: homeschooling
Teaching Creation Thursday~ a lesson and activity on Mount St. Helens
This week, Dr. Reeves talks about lessons that were learned from Mount St. Helens. As you may know, Mount St. Helens erupted back in May of 1980 after being preceded by a long series of earthquakes. When it erupted, the top north side of the mountain collapsed and caused a huge avalanche. As the north face slid away, it quickly exposed steam rich earth and rock to normal atmospheric pressure, more or less like shaking up a bottle of cola and popping the top. In response to this, the core of St. Helens exploded and the heat melted surrounding snow and created a series of massive lahars, or mudslides, that buried hundreds of square miles of the surrounding area. Dr. Reeves speaks about this event and also has an activity to show a Christian alternative as to how evolutionary science views the age of the earth.
There are many ways parents and teachers can help students challenge the evolutionary explanations for the earth’s origin and history. There are a number of questionable assumptions that evolutionary scientists make that are based on the idea that the formation of thick layers of sedimentary rock requires millions of years.
The worldwide flood described in Genesis provides a logical scientific explanation for the thick sedimentary rock layers that are found on every continent of the world. Contrast this explanation with the evolutionary explanation that they formed gradually over millions of years from shallow oceans that changed many times.
Here is a simple lesson that shows how quickly sedimentary layers can be deposited out of water. It is followed by an excerpt from an article entitled “Lessons Learned from Mount St. Helens.”
How Little Tiny Things Settle Out of Water to Become Rocks
Think About This
Anna’s house overlooked the Maple Trail Creek. After several days of hard rains, the usually clear water had become a murky brown and had overflowed the banks. The water kept rising and had gotten close to their house. Anna’s Dad finally said the flood waters were starting to recede, but most of the driveway to their house was still covered by sand, brown silt, and twigs. Where do you think these materials came from?
The Investigative Problem
What are the different settling rates (sedimentation rates) of various sizes and types of material?
Gather These Things
20-ounce water bottle with top (size may vary, but must be clear; plastic is safer)
Gravel (small pebbles)
Sand
Twigs (Very small dry pieces)
Water
Soil
Procedure and Observations
Put sand, gravel, soil, and a few small dry twigs in a 20-ounce water bottle until it is about half way full. Then add water until the bottle is about 2/3 full. You need to leave some room at the top for mixing.
1. Predict which materials you think will settle to the bottom first and which ones will be on top after they have been stirred up.
Place the top on the bottle and shake vigorously to mix. Slowly stop shaking the jar, ending with a swirling motion. Place the bottle on a flat surface and let it stand until all the materials are settled and the water becomes somewhat clear. It may take several hours for the water to become really clear, but you may begin observing the results after about 15 minutes.
2. Observe and record the order in which the materials settled. Is this what you predicted would occur?
3. Make a drawing of what you observe. Be sure to label the layers that
form.
Shake the bottle again as you did before and place it on a flat surface. Wait 15 minutes.
4. Did you get about the same results that you did the first time?
The Science Stuff
You should have noticed that materials were sorted out in order by particle size and composition. The larger heavier rocks settle out first, followed by sand, and then clay and the finer silt. The very smallest particles may remain suspended for several hours before they finally settle out. Your drawing will probably show a layer of gravel on the bottom of the jar, following by sand, then clay and silt, then humus and other materials that float. The spaces around the rocks will be filled in with sand.
The materials that are deposited by water are known as sediment. The process of depositing sediment out of water is known as sedimentation. As long as the water is moving, some of the particles may be carried along. The finer particles tend to settle out when the water stops or almost stops moving.
When deposits have settled out of water and they become hardened, they are called sedimentary rocks. Have you ever seen hardened layers of rock in road cuts that resemble the sediments in your jar?
Lessons Learned from Mount St. Helens
An evolutionary assumption: Whenever stratified layers of rock are found in exposed road cuts and other places, it is often assumed that each layer was gradually deposited and that a thick layer of stratified rock is millions of years old.
An observation:
Here is what can be observed at one exposed cliff near Mount St. Helens:
If you visit Mount St. Helens today, you will find nearby cliffs where mud, silt, and sand were laid down rapidly in horizontal layers that have since hardened into solid rock. One particular cliff is composed of three distinct sections that formed on three different days. The bottom of the cliff is made up of a thick layer of volcanic ash, which was laid down shortly after the volcano first erupted on May 18, 1980. The top layer of rock formed from a mud-flow that occurred on March 19, 1982.
The middle layer is made up of numerous layers (or strata) of rock that were laid down on June 12, 1980, in about four hours. These layers formed as the volcano released large amount of ground-hugging steam. This steam mixed with volcanic ash and flowed across the ground like a giant river. It often traveled at speeds greater than 100 miles per hour. In only a few hours, sediment from the mud-flow had been deposited in horizontal stratified layers that resembled the sediment that formed in your jar. At first the layers were somewhat like wet cement, but eventually the sediment hardened and formed stratified rock.
Do you think a worldwide flood is a logical explanation for the thick sedimentary layers found on every continent on the earth?
(The lesson and the article were taken from The Earth: Its Structure & Its
Changes by DeRosa and Reeves, MasterBooks, pages 30-31, 60-62.)
Wednesdays Around The World: A History and Geography link-up~ MOH lesson on Isaiah and Micah
I am so excited about ” Wednesdays Around the World: A History and Geography Link-Up”. I am still working on the dedicated page and should have it completed by next Wednesday. Between being sick and the having the Thanksgiving holiday, I was unable to finish it.
This link-up will be dedicated to those who use and love Bright Ideas Press history and geography curriculum. I love their curriculum and it really works for our family. So I wanted to share it with everyone and have those who are using their curriculum to link-up and share with others, as well. There are a lot of great projects and activities to go along with the history and geography lessons. I am looking forward to seeing what all others are doing.
This past week, we had a short week of lessons. As I mentioned before, between the Thanksgiving Holiday and my daughter and I being sick, we were only able to do one lesson. The lesson we did was a good one though. We talked about Isaiah and Micah, prophets in the Old Testament.
Isaiah was an amazing man. He was married, with two children and very well educated. Isaiah’s writings were harsh at times, but he was also passionate. He cared about the people and wanted to see them turn to God.
My kids and I learned a few things that we didn’t know before about the book of Isaiah. Isaiah’s writings are very similar to the format of the Bible. There are 66 books in the bible and 66 chapters in Isaiah. There are 39 books in the Old Testament and 39 chapters in Isaiah that talk about the Law and Covenant. There are 27 books in the New Testament and the 27 chapters left in Isaiah that talk mostly about the coming of Jesus Christ. I thought that was pretty neat! By standing strong and being firm in God’s word, Isaiah eventually lost his life to a horrible death. The evil king, Manasseh killed Isaiah by sawing him in half!
During the time Isaiah was writing, God also had another prophet doing His work, Micah. Micah was not as eloquent and educated as Isaiah. He was a farmer, a worker of the fields. Micah also told of God’s displeasure in the sins of the people and like other prophets, including Isaiah, he also told of God’s love. Most of all, Micah is also known for telling the prophecy of where Jesus would be born! This happened 700 years BEFORE Jesus was born! That is truly amazing!
I loved the activity that MOH suggest for this lesson. They gave this verse for us to read first, along with Romans 9:20-21:
Isaiah 64:8
8 But now, O Lord, you are our Father;
we are the clay, and you are our potter;
we are all the work of your hand.
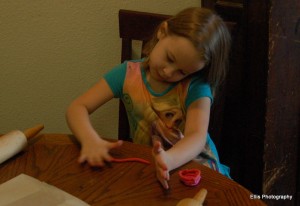
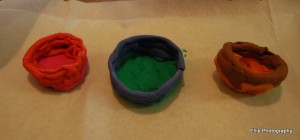
We were then to take modeling clay and pretend we were the potter making and molding a pot. We were to talk about who was in charge or control of making the pot and did the pot have a choice in how the potter made it look. Of course the pot didn’t have a choice. We then talked about how God designed us the way He wants us to be.
I truly loved this lesson a lot. I think more than anything, I am just as excited as the kids are, because I am learning things I never knew. They also like this. We are learning together as a family!
What history and/or geography are you using? What have you learned about in this past week or previously? I sure hope you will link up with us and share what you have learned!
**disclaimer~ This link-up is not officially affiliated with Bright Ideas Press but is my own project. I am a customer and fan.
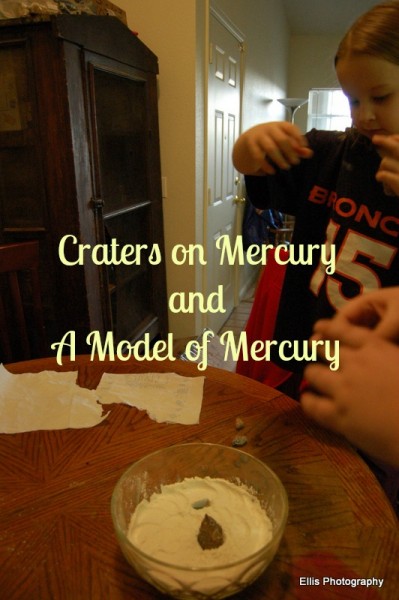
craters on Mercury and a model of Mercury ~ Apologia Astronomy
The kids and I are finishing up Lesson 3 in the Exploring Creation with Astronomy book. This lesson is on Mercury. The kids learned that it is the first planet in the solar system and is the closet planet to the sun. Mercury is a terrestrial planet, meaning it earth-like. While the planet can get extremely hot during the day, it can reach a temperature of -300 at night.
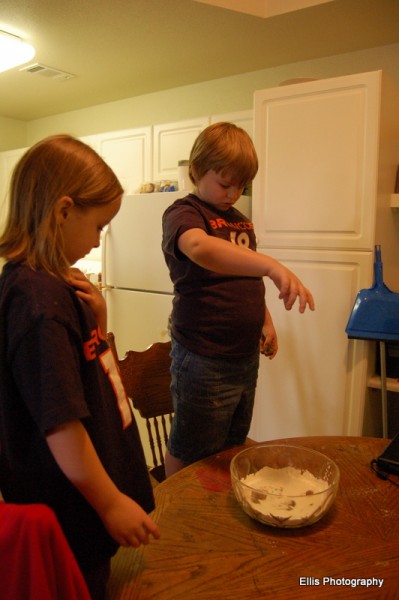
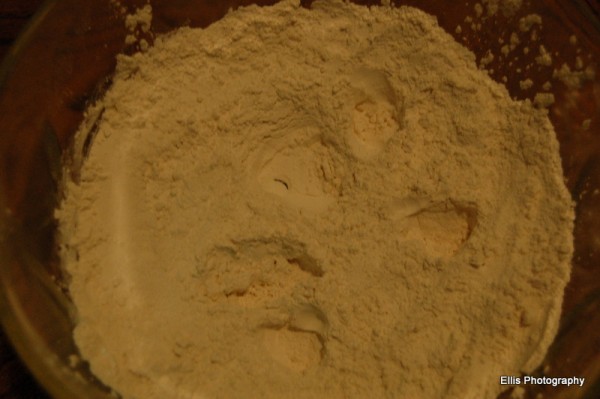
From pictures that have been taken of the surface of Mercury, you can tell it has been hit with a lot of asteroids. There are craters all over the place. This is what brings us to our first activity. We made craters in a bowl of flour! My kids love to collect rocks, so we used those as our craters. I dumped some flour in a bowl and then the kids stood over the bowl and dropped the rocks in the flour. By the different size of the rocks and how high they held the rocks above the flour would depend on how big of a crater they made. The kids had fun doing this.
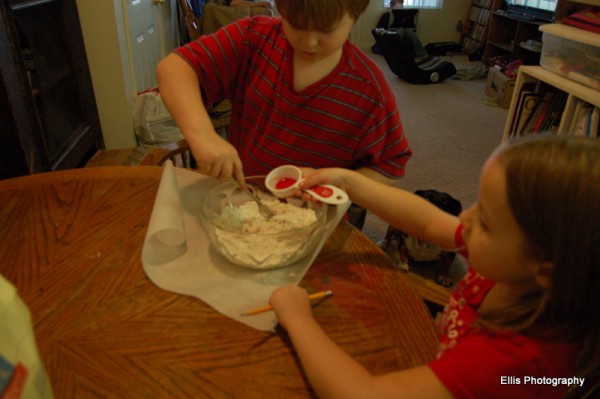
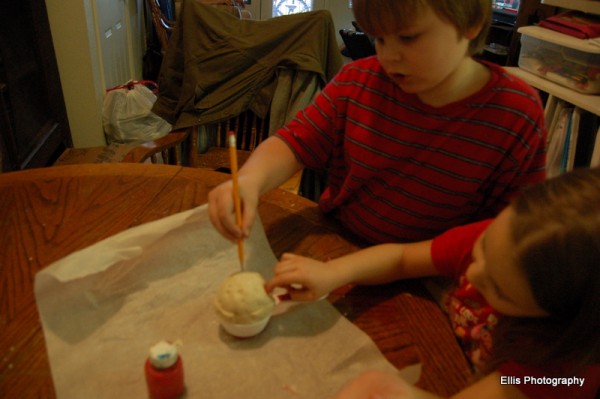
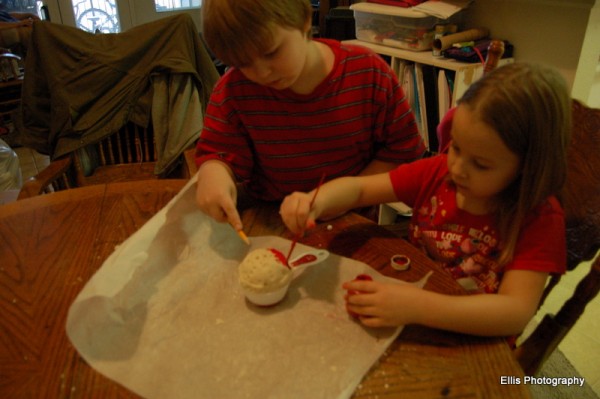
The final project in the chapter on Mercury, we were to make a model of Mercury. We made a simple dough of flour, salt, oil and water. Samuel mixed it up to form a ball, while Claire went to find a marble/bead and a pencil. They were to use those items to make craters on the surface of Mercury, like asteroids. I then let Claire paint the planet red!
Mercury is now drying. I am thinking we might do this with each planet as we finish their chapter. It would make for a great solar system display!
The kids and I really had a great time learning about Mercury. Now that we have finished this chapter, we will be moving on to Venus, the next planet.
What fun project have you done in science lately?
Linking up with:
The Big Book of History ~ book review
The Big Book of History is written by Laura Welch and published by New Leaf Publishing Group.
The Big Book of History is a 15 foot fold out time-line. You can use it like a book and flip through the pages, or you can fold it completely out. It is a time-line that covers from Creation to the time that it was published. It as 4 different lines and each line represent 4 different events. You have Biblical events, inventions, world events and civilizations and empires.
This time-line book isn’t just a bunch of dates on a line. It has pictures and little comments through out the book to help explain the dates that are mentioned. The biblical events listed are some of the major events that happened in the bible. It also lists the major inventions, world events and civilizations/empires that have made a huge impact on our world.
The Big Book of History is colorful and very easy to follow. You can keep it compact in a book shape or you can fold it out completely and hang on the wall.
Overall, the kids and I really liked the Big Book of History. It has a lot of information that led to some great conversations. The kids enjoyed folding out the book and comparing when events happened. I see us using this often on our homeschool. It is definitely a conversation piece with my children and I.
*I was sent this book from New Leaf Publishing Group, in return for an honest review. All opinions expressed are my own.

