making a compass for Apologia Astronomy lesson

making a compass for Apologia Astronomy lesson

The next project for our Apologia Astronomy lesson, was making a compass.  It is the last project on our lesson about planet Earth and tied in with the last section that we read about, “Perfect Magnetosphere”.   What is a “Magnetosphere”? A magnetosphere is a huge area of magnetic power that is around Earth.

The Earth has a huge magnetic field that is made in the outer core of the earth.  This magnetic field pulls harmful particles away from the earth.  The harmful particles is called a solar wind.  Without this magnetic field, we wouldn’t be able to survive on Earth.  Isn’t that amazing?

The magnetosphere that is around the earth actually blocks some of the solar winds that come from the sun.  The solar winds that are able to get through are mostly around the North and South Poles.  As they are traveling past the North and South Poles, they start running into gases in the earth’s atmosphere.  This is where those beautiful lights that are called “auroras” come from!

Now on to the fun part of this lesson, the project of making a compass!  The supplies for this project  that you will need is a cork, permanent marker, a lid from a yogurt or sour cream container, a sewing needle and a magnet (needs to be a strong magnet).

clairecompass

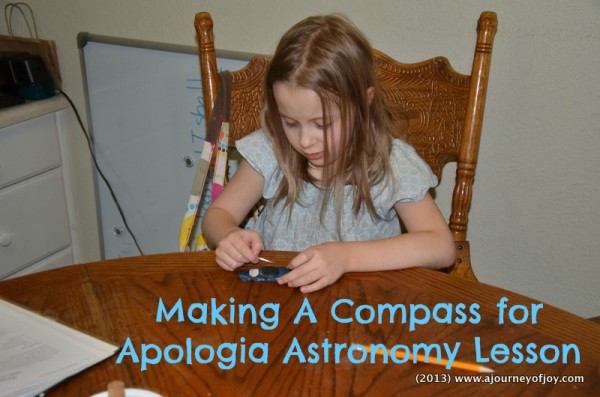
What you do first is label the lid with (N)orth, (S)outh, (E)ast, (W)est.  Then you run the needle over the top of the magnet several times, making sure that you move the needle in the same direction.  Then you will cut off a little piece of cork and put it in the middle of the needle.

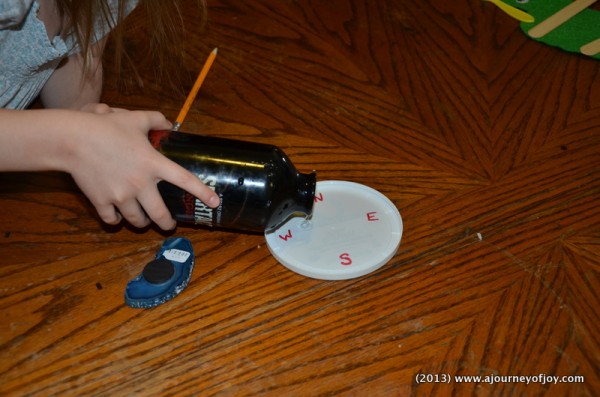
pouring water in the lid.

pouring water in the lid.

Then you will fill the lid to the very top with water.  You will then put the cork and needle in the lid so that the needle is floating roughly parallel to the surface of the water.  Then watch what happens!  Turn the compass and you will notice that the needle continues pointing in the same direction.

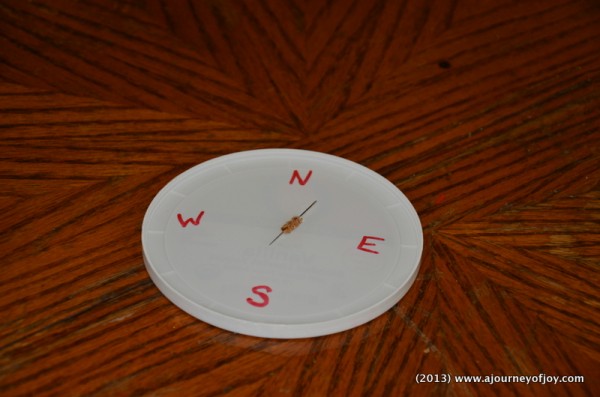
Needle is pointing North.

Needle is pointing North.

Regardless of how you turn the compass, one end of the needle will always point to the north and the other end to the south.  Yes, this really works!

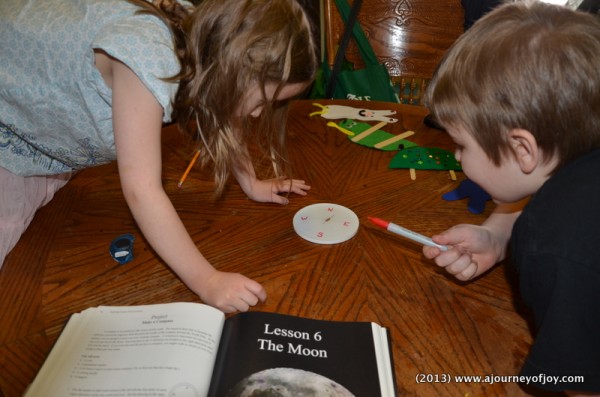
Checking the direction the needle is pointing.

Checking the direction the needle is pointing.

How does this work?  Since you turned the needle into a magnet by running it over the magnet, it is affected by the Earth’s magnetic field!

My kids had a really fun time with this project.  Well I have to admit, I did too!  We can’t wait to begin the next lesson on the Moon!

I am linking up with The Homeschool Scientist and Apologia.  Be sure to stop by Apologia and check out the other projects that have been linked up!

Have you done any neat science projects or activities?  I would love for you to share them with us!
 

The Ultimate Homeschool Planner from Apologia

The Ultimate Homeschool Planner from Apologia

When it comes to homeschooling, I think to help make it a success and something I need to be more diligent about is organizing your homeschooling. This is an area that I have struggled in a lot. I was thrilled when I found out I had the chance to review The Ultimate Homeschool Planner  and The Ultimate Weekly Planner for Teens, that Debra Bell created.

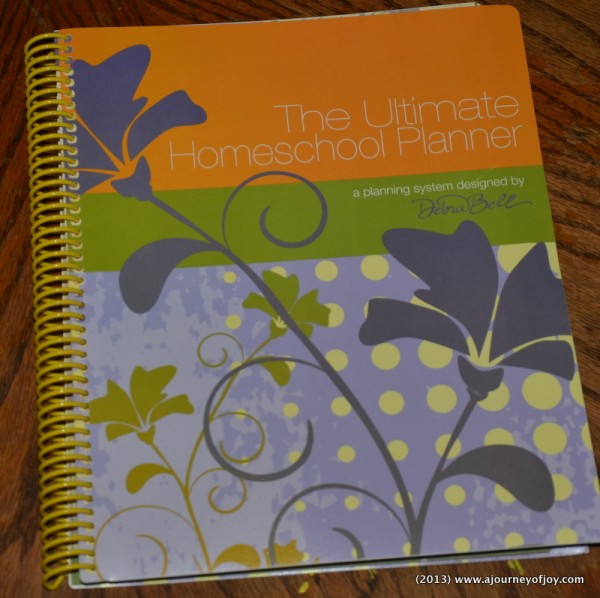
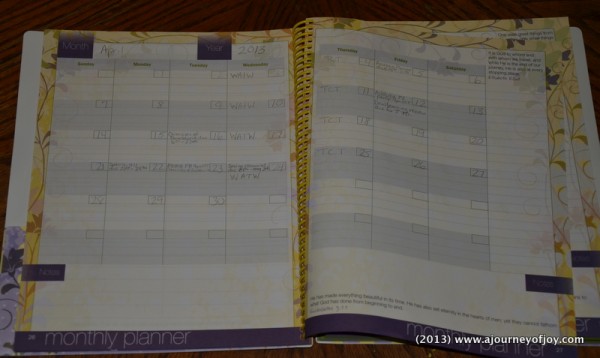
The Ultimate Homeschool Planner.

The Ultimate Homeschool Planner.

Just how “ultimate” is this planner?  It is a huge book, with 263 pages.  What do you ask that takes up so many pages in this huge planner?  Let me give you a littl run down of everything that Debra Bell covers in this amazing planner.

  • A User’s Guide (which is extremely helpful!)
  • A One Year Planning Grid
  • Student Goal Setter
  • Pre-Planning Guides
  • Monthly Planner
  • Weekly Planner
  • Records
  • Teaching Tips
  • High School Planning Guide and a High School Planning Guide Example
  • Year in Review
  • and a Notes section

As you can tell, Mrs. Bell did not forget anything in this planner.  She has been homeschooling for many many years and used her experience to put together this planner to help others. One of the things I enjoy as I am filling out the different sections is the little sayings and scriptures that she puts on the pages.  The really brighten my day and give e the encouragement and hope to continue on what I am doing.  Not only for my family, but to glorify God as well.

Inside the Ultimate Homeschool Planner.

Inside the Ultimate Homeschool Planner.

Another thing I really love about this planner, is I can not only use it for my homeschooling plans, but I find the spaces big enough to allow me to put other information there as well.  I can make notes of appointments for all of us in our family, I can make notes about any reviews or posts that I have due.  There is even room for me to write down ideas that I have pop into my head.

I had chosen The Ultimate Weekly Planner for Teens for my oldest daughter.  She is in 9th grade this year and while she has been doing all of her work on her own, I knew it was past time for her to be keeping track of everything for herself.  I think helping and teaching kids to be more organized will help them in the future.  Mrs. Bell did an excellent job creating this weekly planner for teens.  Like with the Ultimate Homeschool Planner, she really did think of everything, even fun things that are important for teens. What all does Mrs. Bell include in this amazing 168 page planner?

  • All About Me section (their favorites)
  • 1st and 2nd semester schedules
  • Monthly planner
  • Weekly planner
  • Grade pages
  • Reading List pages
  • Activities Log
  • Credit and High School Records page

Mrs. Bell also includes wonderful sayings, quotes and scriptures throughout the pages of the planner.  She als has several pages dedicated to a list of books that she recommends to the teens to read.  There is a Guide to Punctuation, Italics and Capitalization,  Cite Right, Fractions, Decimals, Percent Equivalency Chart, Periodic Table, Measurement Equivalency Chart, Algebra and Physics Review, a Map of the World and the USA, as well as a Timeline.  She also gives a lot of high school and college admissions help, with several pages to just write down any notes that you may need to keep track of.

My daughter and I are really enjoying our planners.  I think it will help both of us become more organized as the year continues on.  We both need to be more diligent about keeping track of all sorts of information as we make plans for the rest of our homeschooling years.  Both of these planners have given us the tools we need to do this.

Earth and its seasons ~ Apologia Astronomy activity

Earth and its seasons ~ Apologia Astronomy activity

We have made it to the planet Earth in our Astronomy study.  With all the sickness and then dental issues that have happened in our house, our science, Astronomy by Apologia was put on hold.

We had already talked about how the earth rotates and it takes 24 hours to make a day.  We also learned that while the earth is rotating, it is also revolving around the sun and that takes 365 days, to make a year.  This lesson, we read about how the earth has a tilt, the equator, the Northern Hemisphere and Southern Hemisphere.   As the earth revolves around the sun, the tilt allows the hemisphere that points to the sun to get that direct sunlight and they will be much warmer.  The hemisphere that is not pointed toward the sun will obviously get less sunlight, making it the cooler months.

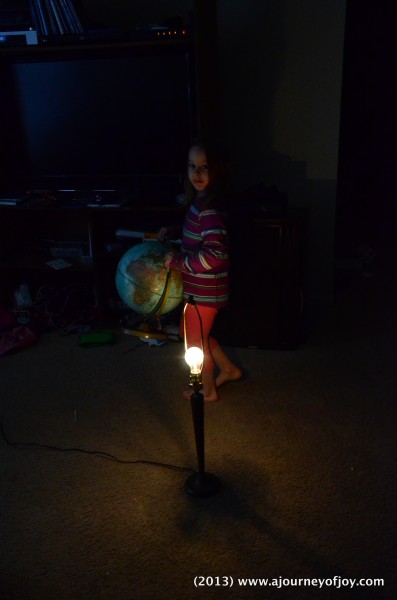
Our activity for the lessons was getting our globe out (it has a tilt to it) and a lamp.  We put the lamp in the middle of the floor, had each of them to take turns walking Earth (the globe) around the Sun (lamp), counterclockwise.

Claire rotating the Earth around the Sun.

By doing this, the kids could see what hemisphere of the Earth was getting the most sun at that time and what hemisphere had less direct light.

Sammy rotating the Earth around the Sun.

The kids and I had fun with this lesson.  It was fun to learn about how the tilt of the Earth provides the different seasons as it revolves around the sun.

Have you done any fun activities or projects in science lately?  I would love for you to share them!

I am linking up with Adventures in Mommydom’s, Science Sunday.

Science Sunday

Creating A Masterpiece ~ review and giveaway!!

Creating A Masterpiece ~ review and giveaway!!


**UPDATE: Congrats to Rebecca Tice winning the Level 1 Art DVD!!

Sharon Hofer, a professional artist, noticed a need  when her art classes at Hidden Acres Art School‘s waiting list kept growing and growing.  She had parents asking her how they could help their children in art, while waiting for a space to open up in a class.  By this growing need, she started Creating a Masterpiece.  Creating A Masterpiece is a DVD art curriculum for kids of all ages.  She teaches them in realism and impressionistic styles.  What I love most though, is that Sharon first goal is to help others create art that glorifies God.  I don’t think you could ask for anything better than that.

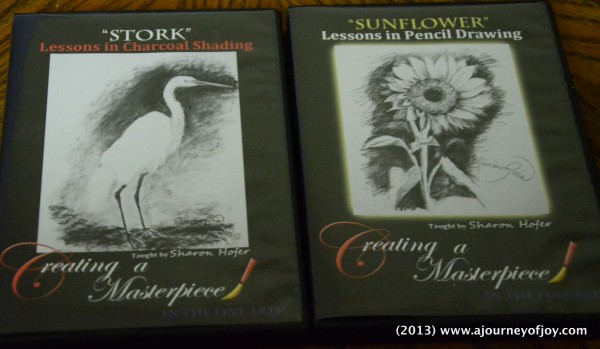
Lessons in Pencil: Sunflower and Lessons in Pencil/Charcoal: Stork.

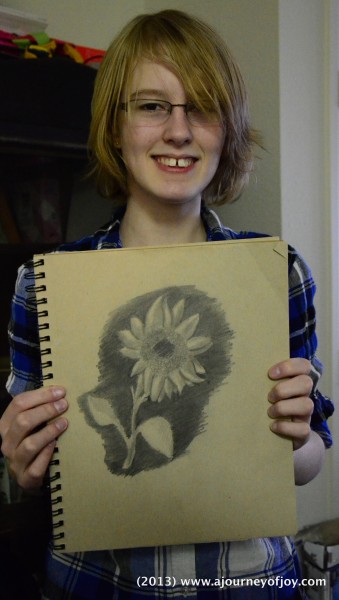
The first DVD that we received to review was the Level 1 Lessons in Pencil: Sunflower.  In this lesson, Sharon teaches about the basic lines that you will draw with, straight and curved.  She also shares how to draw with texture as well as the importance of shading.  The materials that you use are the basic drawing materials.  You will need a #2 pencil, a #6b pencil, drawing paper, a stiff bristled brush and and a tortillon (a roll of paper used to blend).  The art DVD is divided into 7 chapters with her going over the different steps until you get the final picture that you are looking for.

Sarah’s final Sunflower picture.

The next DVD that we reviewed was the Lessons in Pencil and Charcoal: Stork.  This is a Level 3 DVD. In this lesson, Sharon takes you through the steps of sketching and then shading the stork with charcoal.  She also teaches you the different values in the bird, as well as how to blend with a kneaded eraser. The materials needed for this project are: a stick of charcoal, a #2b pencil, a kneading eraser and paper.  Sharon has divided this lesson up into 4 chapters.  By the time this lesson is over, you will have a beautiful picture of a stork.

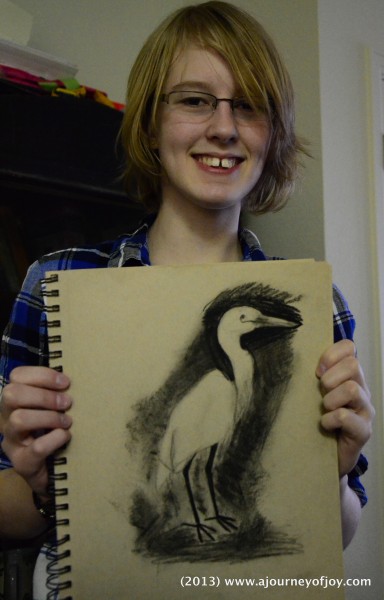
Sarah’s final Stork picture.

As you saw, we did a Level 1 and a Level 3  lesson.  Creating a Masterpiece has 5 different levels, teaching is these different mediums; pencil, charcoal, acrylic, ink, pastels, Copper tooling, sculpture, silk painting and water colors. The lessons, are well laid out and she explains everything in detail to where you can understand and follow along without any trouble.  The materials that are needed you can find at your local art store.

Our overall experience with Creating a Masterpiece was very nice.  We enjoyed the lessons a lot.  Sharon has a wonderful way of explaining in detail, that the kids can understand and enjoy.  You can tell that she truly has a love of art and enjoys teaching it to others.

Creating a Masterpiece  has just added a coupon that you can get the same discount for a year’s curriculum (6 DVD’s) but allows you to choose which 6 DVD’s that you want.  All you have to do is enter the discount code “setof6”.

Creating a Masterpiece has also offered to give away to one of my readers a DVD.  I have chosen the Level 1 DVD “Sunflower“.  All you have to do is enter the correct information into the rafflecopter widget below!  I will choose a winner on April 5th.
a Rafflecopter giveaway

disclaimer: This was a compensated review. All opinions expressed are my own.

We Choose Virtues ~ review

We Choose Virtues ~ review

We Choose Virtues is a program that you use to teach 12 virtues to your children and to build character in your children.  I think for most any parent, instilling good character into your children is high on the list when you are raising our children.  We Choose Virtues can also be used as a reminder for parents as well.  Children pick up a lot by just watching their parents and how they act or treat others.

We Choose Virtues comes with all the material that you need to start teaching your children about the virtues and good character.  The first thing that you do is use the Family Character Assessment.  You sit down with each child and if you want, even yourself and your spouse.  You go over the assessment to see where you feel like you stand on each virtue.  From there, you can choose with which virtue you think needs to be covered first.

Our family decided to start with Obedience.  I think it is important for children to listen to their parents.  The first thing we did was read the card.  We talked about the scripture and even other scripture in the bible that talks about not only obeying your parents, but obeying God.  I printed out the coloring books for my kids and they each colored the Obedient page.

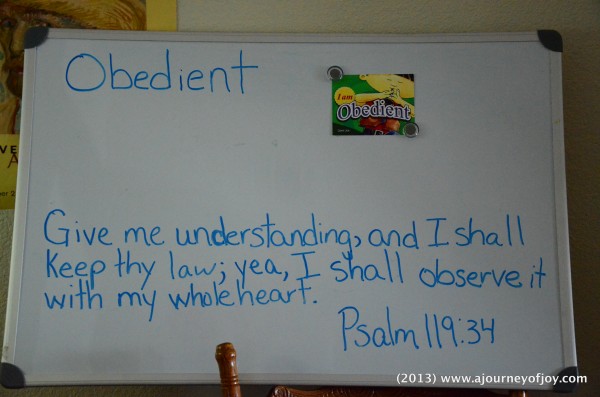
Obedient, our first Virtue we are learning.

Everyday, for a week, we would go over the Obedient card and read the scripture.  Several times throughout the days, I would ask if they were being obedient and ask them to give me the ways that they were.  If at any time, when I had asked them to do something and they wanted to fuss or not listen, I would remind them of the word Obedient and they knew what I was talking about.

This was also a great reminder for me.  I thought to myself, how often do I not listen or obey God?  There were several times, that I often has to repent.  Yes, I even told the kids that even moms and dads don’t obey and we have to suffer the consequences of not obeying as well.  I think it helped them to know that even mom and dad do have trouble  obeying at times as well.

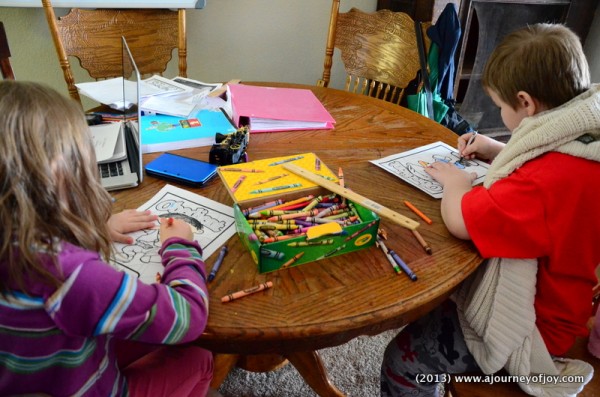
Coloring our Obedient pages.

Overall, We Choose Virtues is an excellent program, not only for children, but for parents as well.  We Choose Virtues comes in several different kits, for whether you are homeschooling, in a school setting or church setting.  They have posters, charts, coloring books and other materials that you can even make your own kit from.  They also have different versions of the bible that you can choose from as well.  The colors are very vibrant and colorful giving it a fun kid look.

If you are interested, We Choose Virtues is offering 20% off for the month of April on any kit that you order.  The code for the 20% is Home20.  Heather, the owner is also offering a 15% discount on any order.  Be sure to use the code Virtue15.